Work Folders: Configure in a Failover Cluster Using Certificates from an Internal CA
Today, I began to configure Work Folders in a two-node failover cluster for my workplace. The implementation that we chose will use our internal Certificate Authority as syncing will only occur to computers when they are connected to our LAN internally. (We use DirectAccess so computers always appear on the LAN even when out of the workplace.) This is good news for me as it means I do not need (at least for now) to configure a WAP or ADFS server.
To start with, I fired up a lab in Hyper-v that was as close as possible to the actual production environment, using Windows Server 2012 R2 as a target server in order to present iSCSI storage to the cluster.
This is not like my usual step-by-step guides, more a documentation of the certificates procedure I used in order to get Work Folders functioning in my lab. I found there was a lot of information on using self-signed certificates in a lab environment and also for a single Work Folders server – but not much on configuring certificates in a clustered capacity using an internal CA which requires a few different steps. It also contains a couple of other related items I discovered on my voyage when using a failover cluster with Work Folders (such as CNAME in DNS).
So without further ado, let’s go….
On the Certificate Authority:
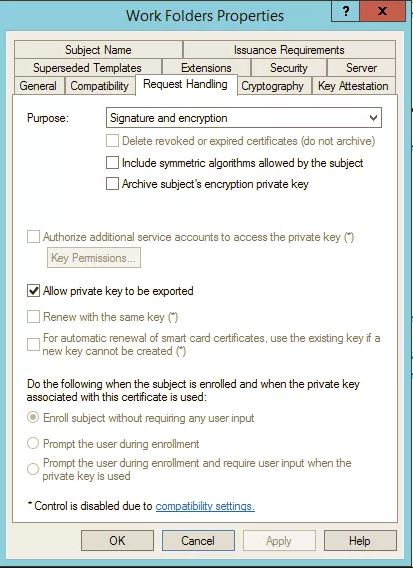
On our CA, I copied the Web Server template, gave it a meaningful name and allowed the private key to be exported. This is an important step as I will be installing this same certificate on multiple servers:
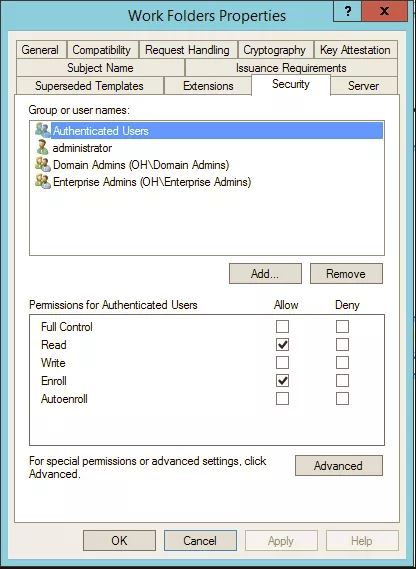
I then gave Authenticated users the enrol permission:
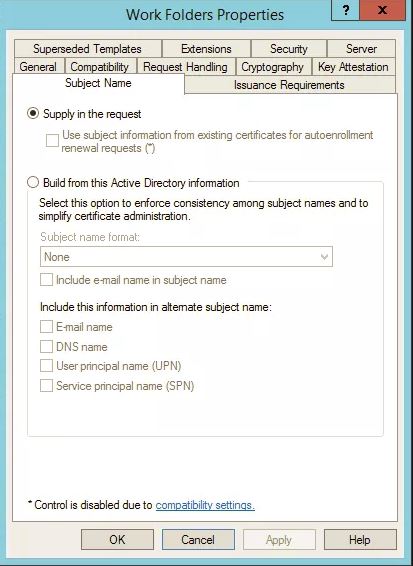
…and ensured that ‘Supply in the request was selected’
The Storage:
Having started the iSCSI initiator on the first sync server and configured the storage, I then took the storage offline.
Repeat this for the second node (and any other nodes that make up your cluster)
Certificate Request:
On the first Work Folders Sync Server, I used the following details in the certificate request:
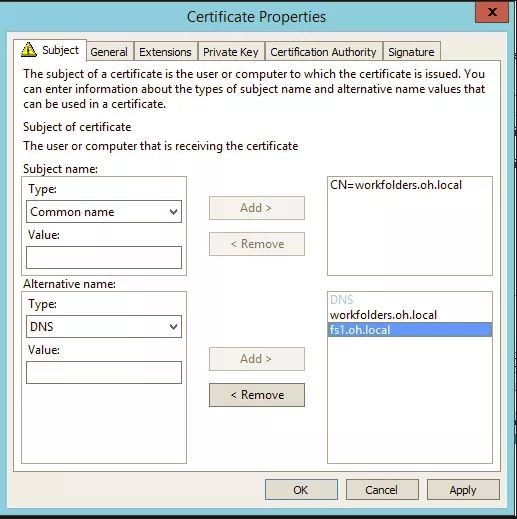
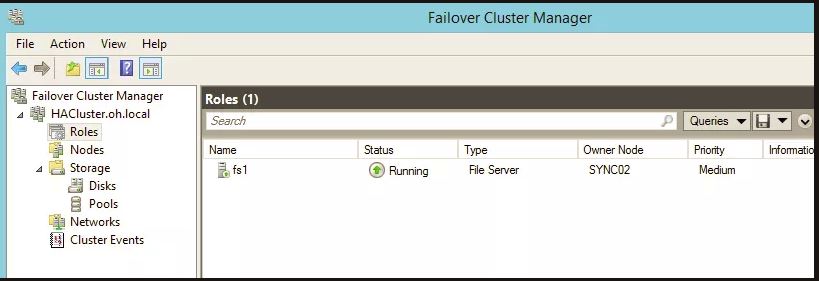
The important items to note here are that the common name should be workfolders.your.domain and the same for the alternative DNS name. In addition, you will need to add the name of the VCO (Virtual Cluster Object). In my case, It was named fs1 as shown in the next screenshot taken from the Failover Cluster Manager console:
Configure the SSL certificate binding:
On one of the Work Folders sync servers, perform the following…
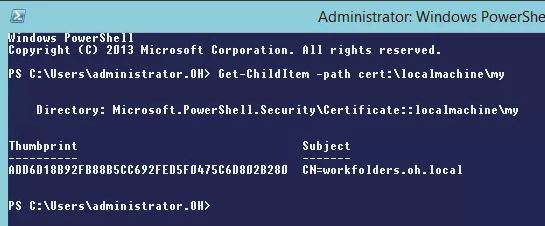
To configure the SSL certificate binding you will need to know the thumbprint of the certificate. I did this in Powershell using the following command:
Get-ChildItem -Path cert:\localmachine\my
And then in an Administrative command prompt – (Not PowerShell!) I typed the following:
netsh http add sslcert ipport=0.0.0.0:443 certhash=<Cert thumbprint> appid={CE66697B-3AA0-49D1-BDBD-A25C8359FD5D} certstorename=MY
Obviously replacing
Note, ensure you use the ipport of 0.0.0.0:443 as shown in the command line.
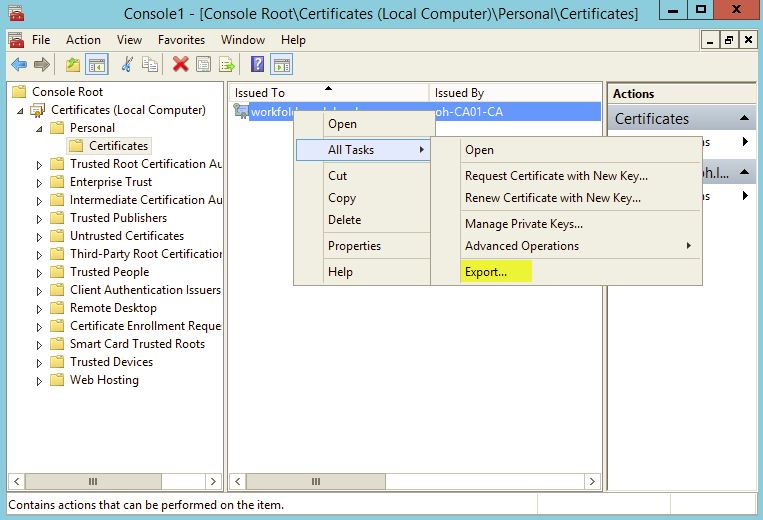
Export the Certificate:
On the same server that you just completed the certificate binding on, export the certificate…
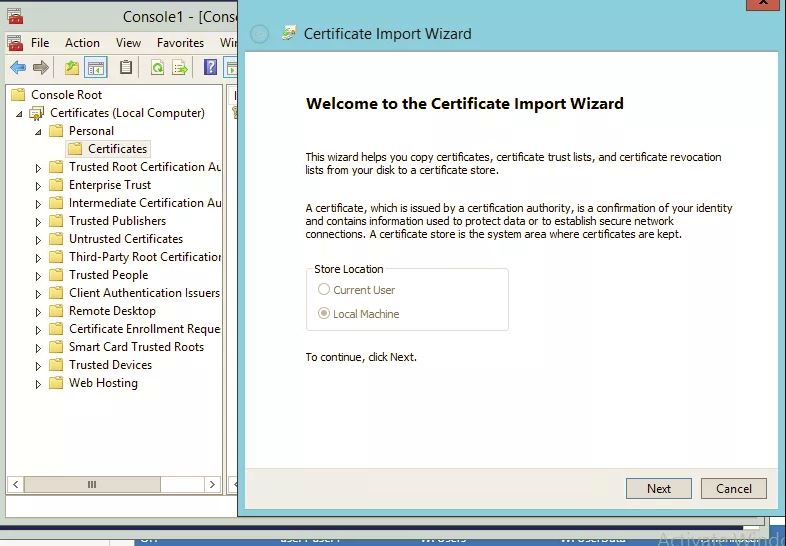
On the other sync server cluster nodes:
Import the certificate!
Configure the SSL certificate binding as per the instructions above.
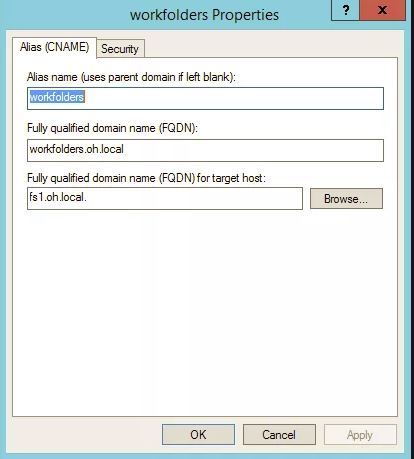
Add a CNAME in DNS
Add a cname of workfolders that points to your cluster file server role name – ie the VCO name (Virtual Cluster Object) – In my case I had named it fs1
That was it – after this, Work Folders worked like a charm! Sweet!
Get my books:
ConfigMgr - An Administrator’s Guide to Deploying Applications using PowerShell
“Understanding Microsoft Intune: Deploying Applications Using PowerShell” is available for purchase at all good book stores and online outlets. Don’t miss out on the opportunity to take your application deployment skills to the next level. Get your copy today!